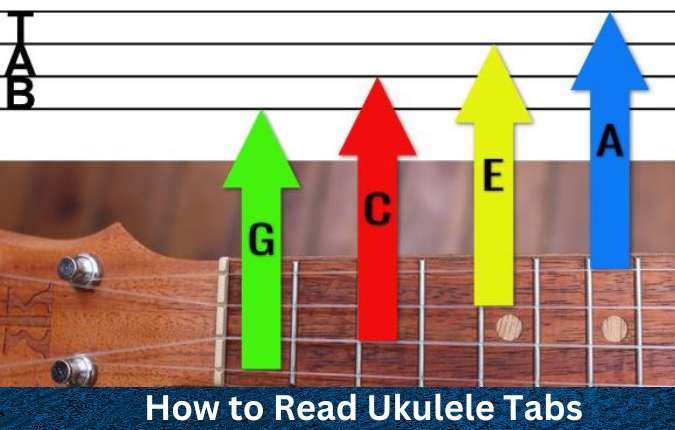
How to Read Ukulele Tabs!
You’ll find several ways to read music, but tablature, also known as “tab,” is a popular method for learning to play string instruments, especially the ukulele. If you master the ukulele, managing tabs might aid you in understanding where to place your fingers on the instrument’s neck.
Ways of How to Read Ukulele Tabs
It’s simple to play with tabs, but you have to master and understand the fundamentals of reading tabs, master how to play chords and unique pitches, and determine the rhythm and tempo of the song.
Part One: Basic Notes on How to Read Ukulele Tabs
1) Liken the Strings of the Ukulele to the Tab Chart:
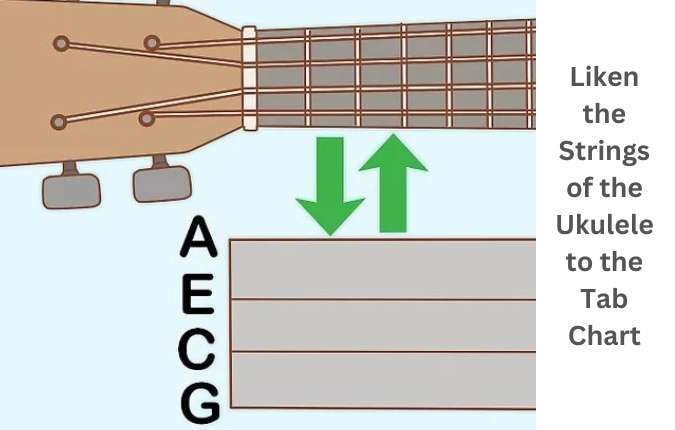
There are four horizontal lines in the tab chart that coincide with the four strings of the ukulele. These get labeled as “A, E, C, G” from top to bottom on the chart. Lay the ukulele flat on a table with the headstock to discern how the tab aligns with the ukulele strings.
- While holding your ukulele close to your body to play, the A string will remain closest to your waist, and the G string will stay close to your head.
2) Put your finger on the fret number of the identified strings:
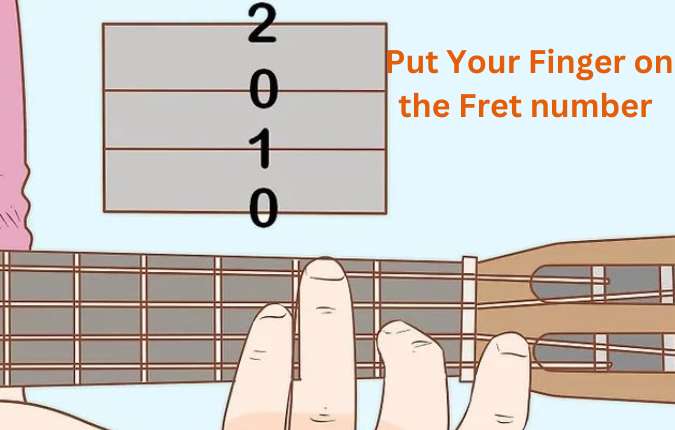
The numbers on the chart coincide with the string fret number that the number stays on. Calculate the frets beginning from the headstock and working down to the ukulele body. After that, place the pad of one of your fingers on the string and squeeze it to the fret.
- Avoid touching the other strings with your fingers because it can create noise as you play.
- Remember that the numbers are not compatible with the finger you will use. Use the fingers that feel natural to you to press the strings.
3) Plucking the string once to play the note:
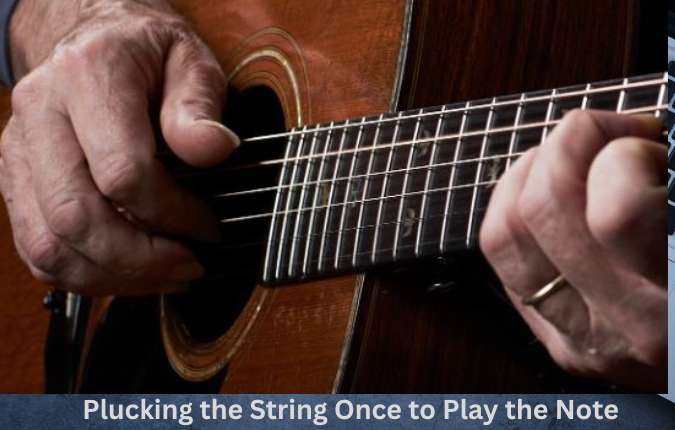
Applying your fingers, thumb, or pick, vibrate the string to tap it and then release. Ensure that you strike the string only once if the tab remains labeled only once. Then, make your fingers ready to play the subsequent note or chord.
- If you can’t produce a better sound the first time you pull out the string, attempt to readjust the tension on the fret. Tighten or loosen your grip slightly and pull the string again to feel how the sound quality alters.
4) Playing the string without grasping any frets if the number on the tab remains “0”:

A “0” marking refers to plucking the string without grasping your fingers on any frets. Apply your playing hand or a pick to vibrate the string.
- Don’t forget to keep your fingers away from the frets of that string if there is a “0” on the tab. If your finger makes any contact with the string, the string may stop vibrating, and the sound will be off.
5) Reading from left to right on the tab to play notes in sequence:

If you pluck your 1st string, see the right at the next column of numbers and readjust your fingers to play the subsequent note on the tab. Continue reading from left to right as long as you go to a mark or chord you do not know.
- Don’t go to the subsequent note on the tab as long as you feel you’ve learned the first one.
6) Taking the time while working through the song the first few times:

While learning the ukulele first, don’t hasten about working through songs quickly or playing them correctly. Taking your time and mastering where to place your fingers is best. If you can master where your fingers move on, you can continue your practice more frequently to be faster and ring songs up to tempo.
- Focusing on learning just one song at a time might be helpful so that you can start to remember the song as you play it.
Part Two: Chords and Symbols on How to Read Ukulele Tabs
1) Put your fingers on 2 or more frets when the numbers line up vertically:
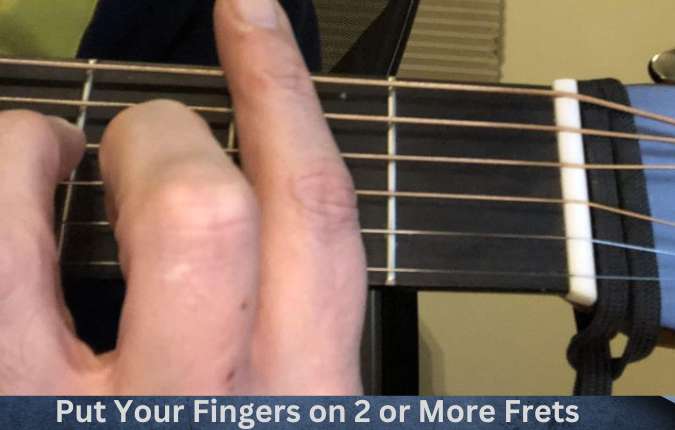
When you stare at the columns in the tab, you might see that the same column has two or more numbers. For each string with a number, press your fingers to the marked fret and test to ensure your fingers are not pushing other Strings.
- While mastering a chord first, your fingers may feel a little awkward. Don’t fear attempting various hand positions as long as you’re still touching the correct frets and strings.
- For example, one of the easiest chords is the C chord, and the 1st one that many learners are capable of mastering. It may be like the following:
A |–3–|
E |–0–|
C |–0–|
G |–0–|
2) Strumming the strings with a fret number to play the chord:
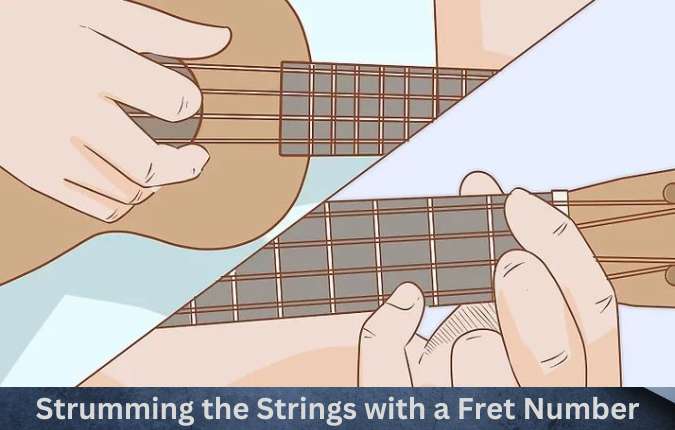
If your fingers are in position on the frets once, employ your other hand to strum the strings specified in the tab. Apply a strumming motion by moving your fingerpicking across the strings or plucking multiple notes together.
- If one of the strings on the tab doesn’t contain a number, you don’t touch that string while playing the chord.
3) Moving your fingers to the next set of frets and strumming to play the chord:
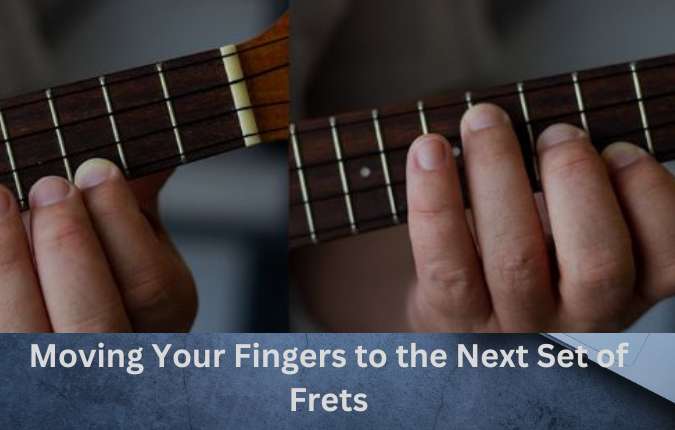
After playing the chord in the tab, you shift 1 column to the right and adjust your fingers for the subsequent note or chord again. You play the pitch and adjust your fingers again to play another angle.
- You should take the time while figuring out the chords for a song. Practice transferring from fingering for one chord to the subsequent one without playing a note. It will contribute to your fingers getting used to the tempo of playing the song.
4) Master “hammer-on” notes to play a higher secondary pitch:
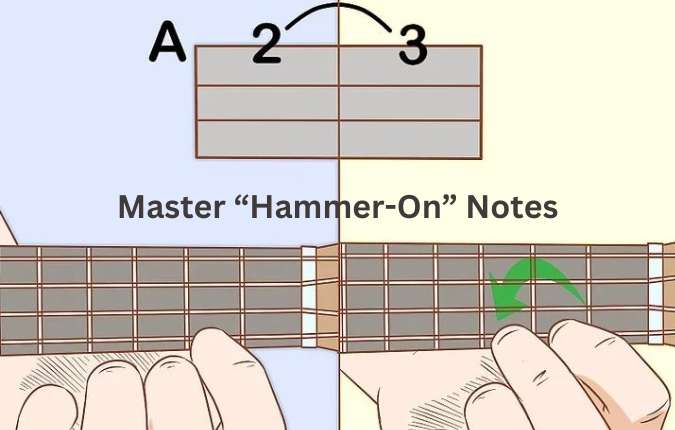
A number, the letter h, and another number are used to identify hammer-on notes. Now, play them by placing your finger on the 1st numbered fret, plucking the string, placing your finger rapidly on the 2nd numbered fret, and elevating the 1st finger you put down.
- For example, the “2h3” might be a hammer-on labeled for the A string. In this case, put your finger on the second fret of the A string, pluck the string, and then quickly put a different finger on the third fret of the A string when you elevate the finger on the second fret.
- Sometimes, hammer-ons are also indicated with a “^” symbol.
5) Identifying “pull-off” notes to play a lower secondary pitch:
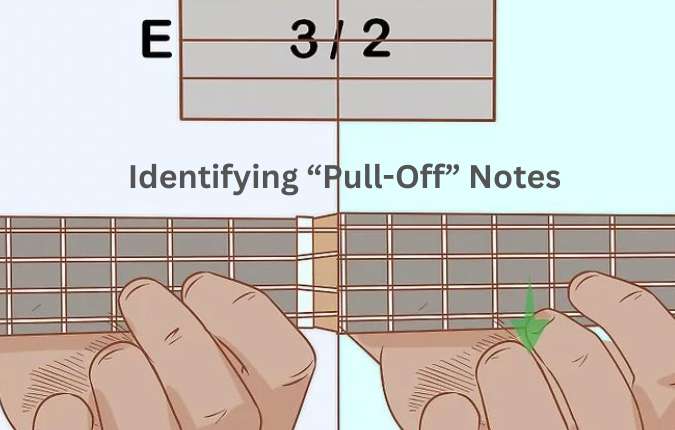
A number, the letter P, and another number are used to identify pull-off notes. Put your finger on the 1st and 2nd frets and pluck the string. Then, drag the finger to the 1st numbered fret.
- For instance, the “3p2” might be a pull-off label for the E-string. Put your fingers on the second and third frets of the E string, pluck the string, and then elevate your finger on the third fret to lower the pitch.
- Similar to hammer-ons, sometimes pull-offs get labeled with a “^” symbol, especially when you are about to change between hammer-ons and pull-offs.
Part Three: Rhythm and Tempo of How to Read Ukulele Tabs
1) Notice the time signature at the beginning of the tab if one is available:
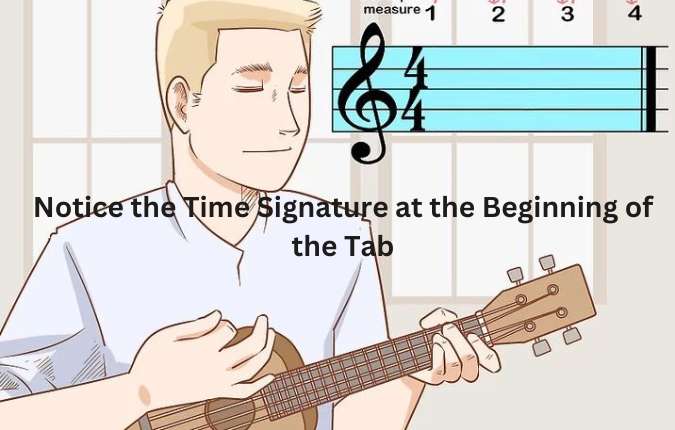
Without a line at the beginning of the tab, the time signature seems like a fraction. Most time signatures refer to a number, such as 2, 3, or 4, greater than 4, which means that a quarter note represents 1 beat. The number above indicates how many bits are in a measurement.
- For example, in a 4/4 time signature, a measure consists of 4 beats, and a quarter note represents 1 beat.
- If the time signature contains a number other than 4, such as 2, a note representing 1 beat will be different. For example, in a 3/2 time signature, a half note represents 1 beat.
- Note that some tabs may not have a time signature, and some use lines to indicate pitch duration.
2) If there is a long line below the tab, play a quarter note:

One beat of a standard 4-beat or 3-beat measure is a quarter note. Play the note or chord and count “1” in your head when a long line remains at the bottom of the column.
- There are also measurements above the tab with the standard notation on some TABs. Don’t forget to look to the left of the measure for the time signature if this is the case. The measurements aren’t 4 beats if there aren’t two 4s on top of each other.
- No matter how many beats the measure contains, a quarter note always represents one beat of the measurement.
3) Place a half note if there is a short line below the tab:

A half note is always half a beat longer than a whole note, usually 4 beats. Place a half note for 2 of the 4 beats in a standard 4-beat measure.
- In some rare fields, such as the 2/3 time signature, the half note should be held for 1.5 beats since the lower part of the time signature represents how many beats the whole note gets.
4) Plucking a whole note if there is no line below the tab
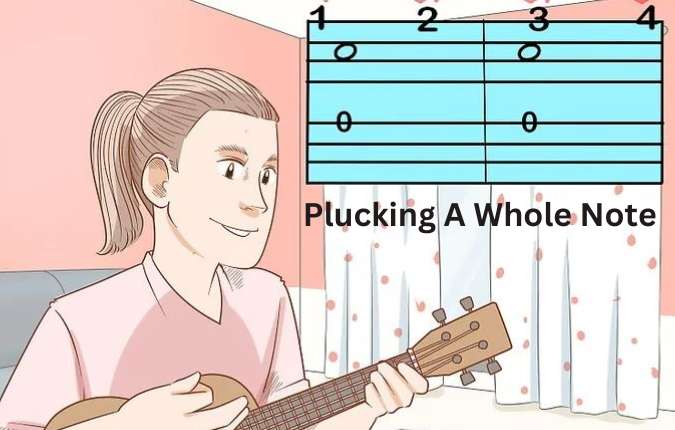
If there is no notation below the note, allow the pitch to continue for the entire measure. Keep the full note for all four beats of the measurement in a standard 4-beat measure.
- While learning to play first, your pitches may not be permanent for 4 beats. Don’t forget to count four beats in your head before moving on to the next pitch.
5) Hear a recording of the song to get a feel for the rhythm and tempo

Understanding how the pitches flow together might be tough using only the time signature and beat if you have never listened to the song. First, listen closely to any instrumental music online. After that, hum a song as you study and run the tabs.
- It’ll aid you in understanding how the melody sounds while playing at the correct tempo and rhythm.
- Use the metronome if you fail to understand the rhythm, beat, or tempo. A metronome is an instrument that creates a beat depending on the desired tempo of a song. You can run it too fast or too slow or adjust it to a specific song.
Conclusion
Hopefully, you have read this lesson about how to read ukulele tabs. Now, continue practicing in this way. Be successful!